Let's try Object Capture in macOS Monterey

Taking a photograph of a wrinkled sticky note is pretty straightforward. Point a camera and shoot. But that image won't tell us what the sticky note looks like from the back. Or from the side. Or zoomed in. So we can't make a cool animation like in the video above. Instead, we'll need a 3D model, and like with anything 3D, the complexity grows exponentially compared to a 2D photo.
One technique is getting your hands dirty in a 3D app like Blender, spending days, maybe even weeks, getting all the 3D coordinates right. There are great videos on Youtube that will teach you that, but what if we could make that model in 5 minutes with no experience?
What are object capture and photogrammetry?
Another technique is photogrammetry. The idea is that if you let a computer see a sticky note from many different angles, it can figure out its 3D shape - all on its own while we drink coffee.
It is not a new idea (150 years) but what's new is that the tech will ship to hundreds of millions of Macs this fall, making it trivial for app developers to let their users create 3D models from images.
Let's try it out
I thought I'd give it a try. Here's what I used
- A 2017 iPhone X (no LiDAR)
- iOS 15 beta for the capture app (not required)
- A Macbook Pro 16" with the first macOS Monterey Beta
The app for taking the photos is optional, but it has an auto-mode that fires every second and generates a few different formats like depth and gravity.
I took 58 photos, thanks to my being impatient. Apple recommends up to 200, depending on the object. Getting the pictures out of the app was a bit tricky, but I used the Files app. So first, find the Capture folder, then AirDrop the session folder with all the photos in one go.
On the Mac, I built this command-line tool.
And then I just dragged the built product from Xcode into my Terminal and ran it with two parameters:
1. The path to the folder with the images
2. A name for the USDZ model, e.g., sticky note.usdz
A few minutes later, I had my model. I double-clicked it, and it opened in Xcode's Scenekit editor.
Animating
I used another beta, Rotato with Custom Model import, to create my scene and then just animated it as if I animated any other Rotato scene.
Here's the result. You should be able to view and download it in 4K through Vimeo.
You can also grab the .rotato files here and play around with them. It didn't go over well in the macOS beta, but my Big Sur M1 had no problem rendering, so probably just a hiccup in the very first beta of the year.
Going all-in on detail
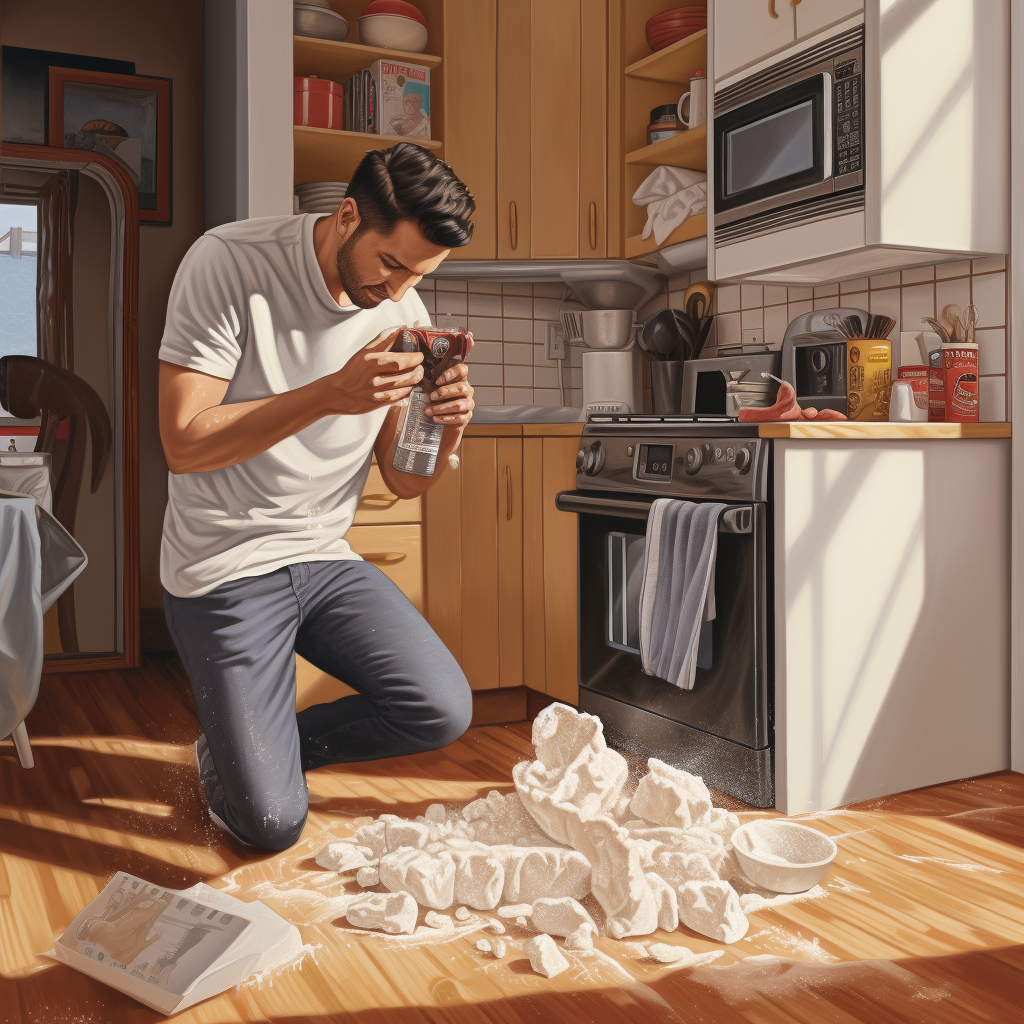
Okay, so I mentioned I had been lazy and only used 58 photos. What would happen if I picked a more complex object but took, say, 297 photos? So I went to the kitchen and grabbed the first messy object I could find. I picked up the flour bag with my fingers to get all sides, hoping they wouldn't make a cameo on the final model.
And luckily, they didn't.
We're far from done
We've seen how to create a real 3D object from nothing but images. In 2023, Apple announced that Object Capture is available for iOS, too, starting from iOS 17. This makes the technology even more common over the next couple of years. But a new crop of 3D models are starting to appear: nerfs and gaussian splatting take an entirely different approach to making models. Instead of polygons and geometry, they use elements that are more like "light field pixels."