Guide your audience's eyes and bump the photo-realism up a level


If you've ever opened a cookbook, a high-end watch magazine, or watched a feature movie, you've seen depth-of-field in action. It's the photographer's tool to direct attention and to give the product that extra premium feel. So how do you get started?
What is depth-of-field in photography?
Glad you asked. Let's start by looking at a food photo:
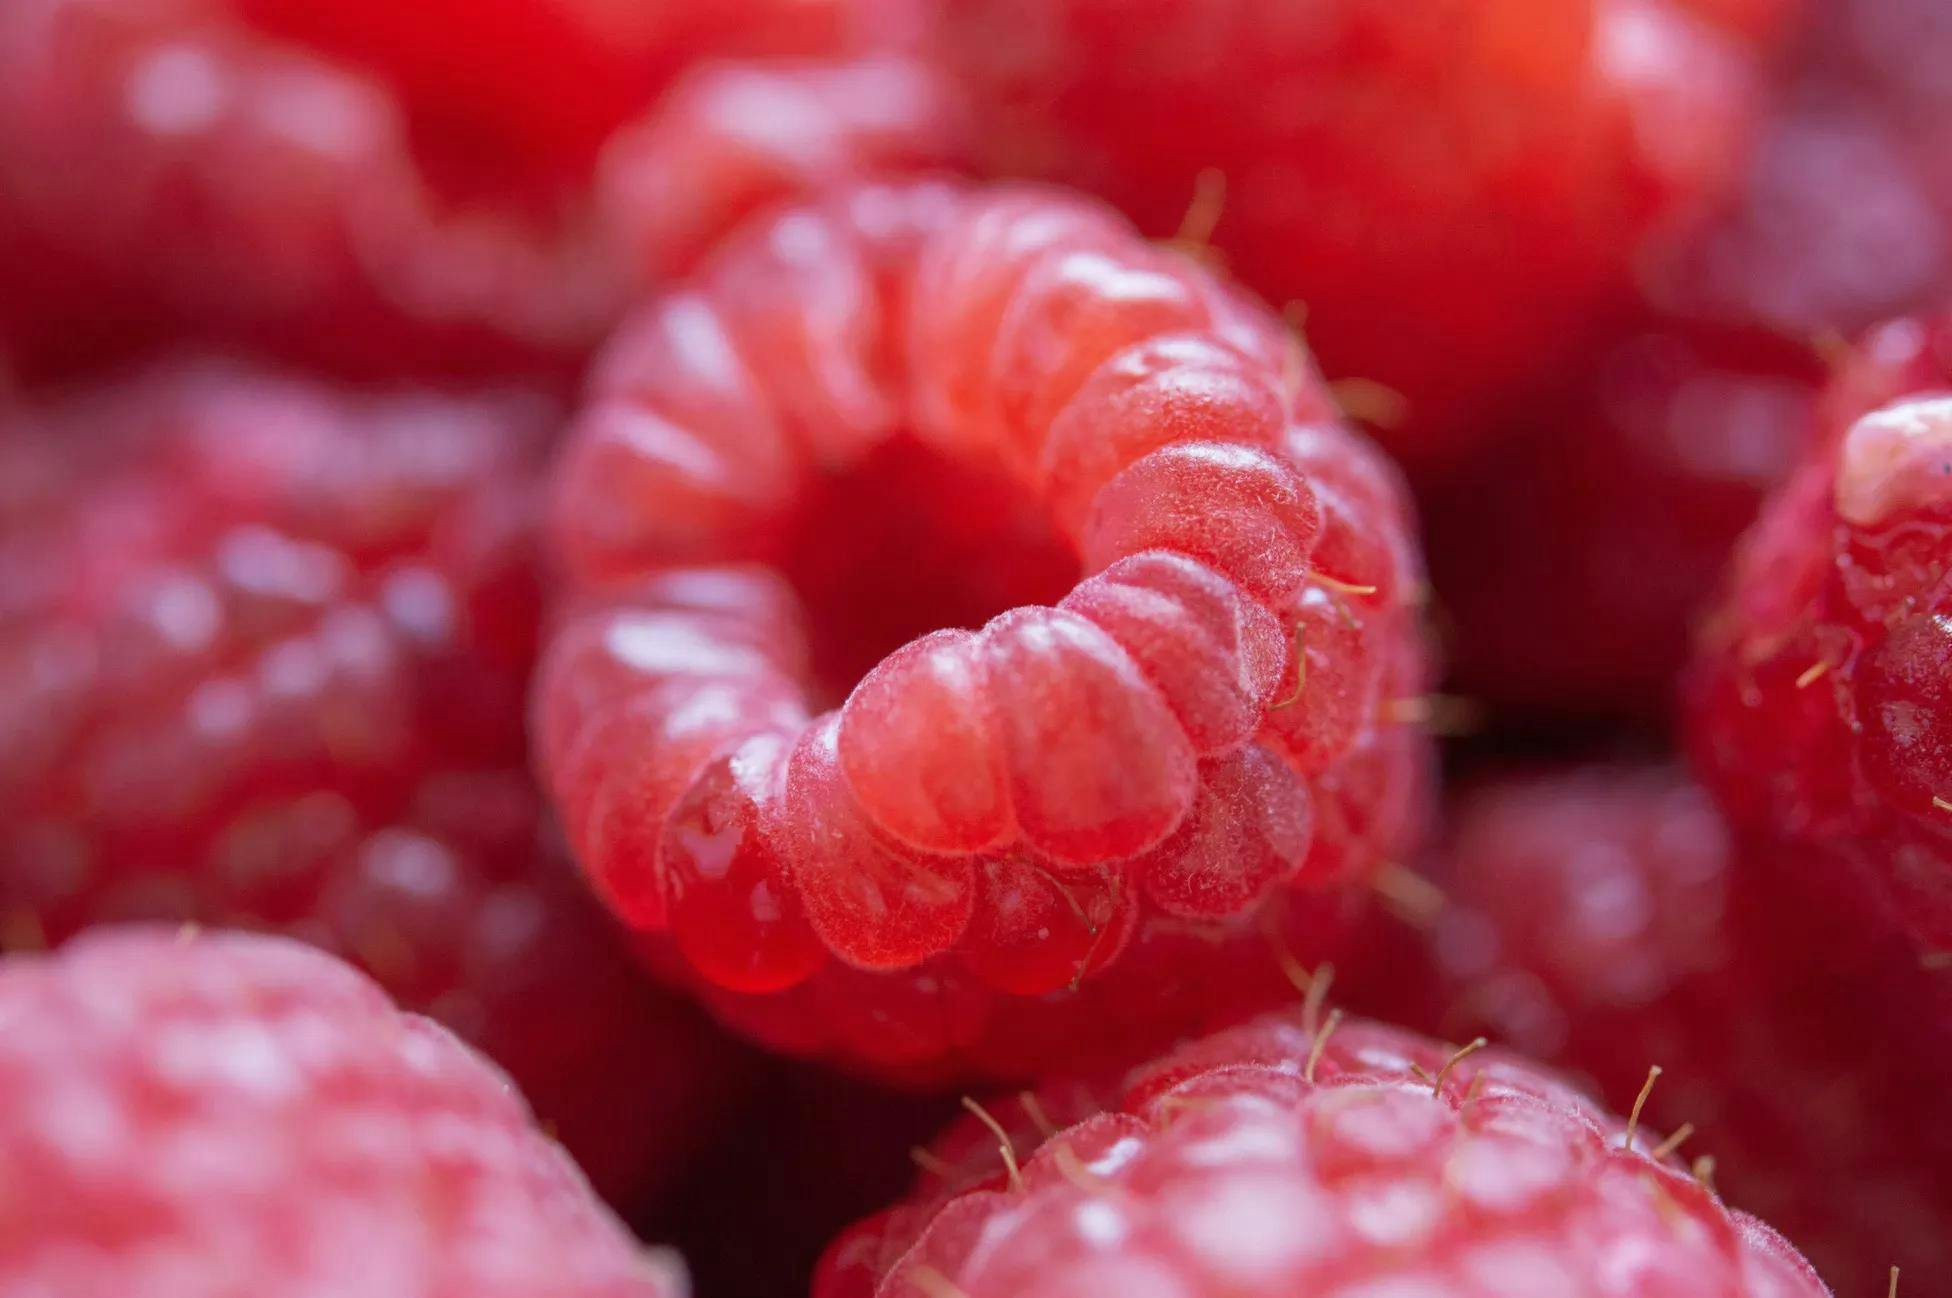
Quick guess: when you see this photo, you first look at the two large bumps on the raspberry right in the middle.
Right? What happened was that The photo's composition guided your eye to look at this part by a phenomenon called depth of field.
There are many names for it, so depending on who you're talking to (especially if you're talking to photographers), this is also called "aperture opening" or "f-stop" or "opening the lens up" and sometimes "focus blur." In plain English, we'd say blurring-out-the-not-important-parts-of-the photo-using-a-camera-lens-technique. Maybe a bit long.
Why is it interesting?
It feels so lovely to look at a picture with depth-of-field because it is very close to how our own eyes work. Take a pen, hold it up close to your face, and focus on it. You'll notice that the background blurs out, making the pen look even crisper.
If you're thinking, "can I use this effect in my mockups?" the answer is yes, you bet. But first, a word of caution: depth of field is not perfect for every occasion. Let's take a quick detour to see when it's great and when it's not.
When should you use depth of field for mockups?
Two scenarios:
- You want to guide your viewer's eye towards a specific part of your design. It could be a button, an interactive detail, or like here, a particular label:

Depth of field is used to direct attention.
The other scenario is entirely compatible with the first:
- you want to add that premium and realistic feel to your presentation. Depth of field is heavily used in high-end cooking photography, jewels, and whenever a company wants to say: "we cared about the details."
You might not want to use depth of field if you're showing your audience a complete design for the first time, and they need to get the full picture. In addition, you'll want to allow their eyes to travel all over the screen without needing prescription glasses.
How depth of field works
The technique is as old as the camera. In any camera, there's a hole that lets in the light for a concise amount of time. The bigger that hole is, the less blur. 3D photography and rendering is just a real-world camera simulation, so it works similarly.
The magic number here is the f-number, also called the f-stop, and it's confusing: the bigger f-number, the smaller hole. So let's forget about that hole, and focus on the f-number instead.
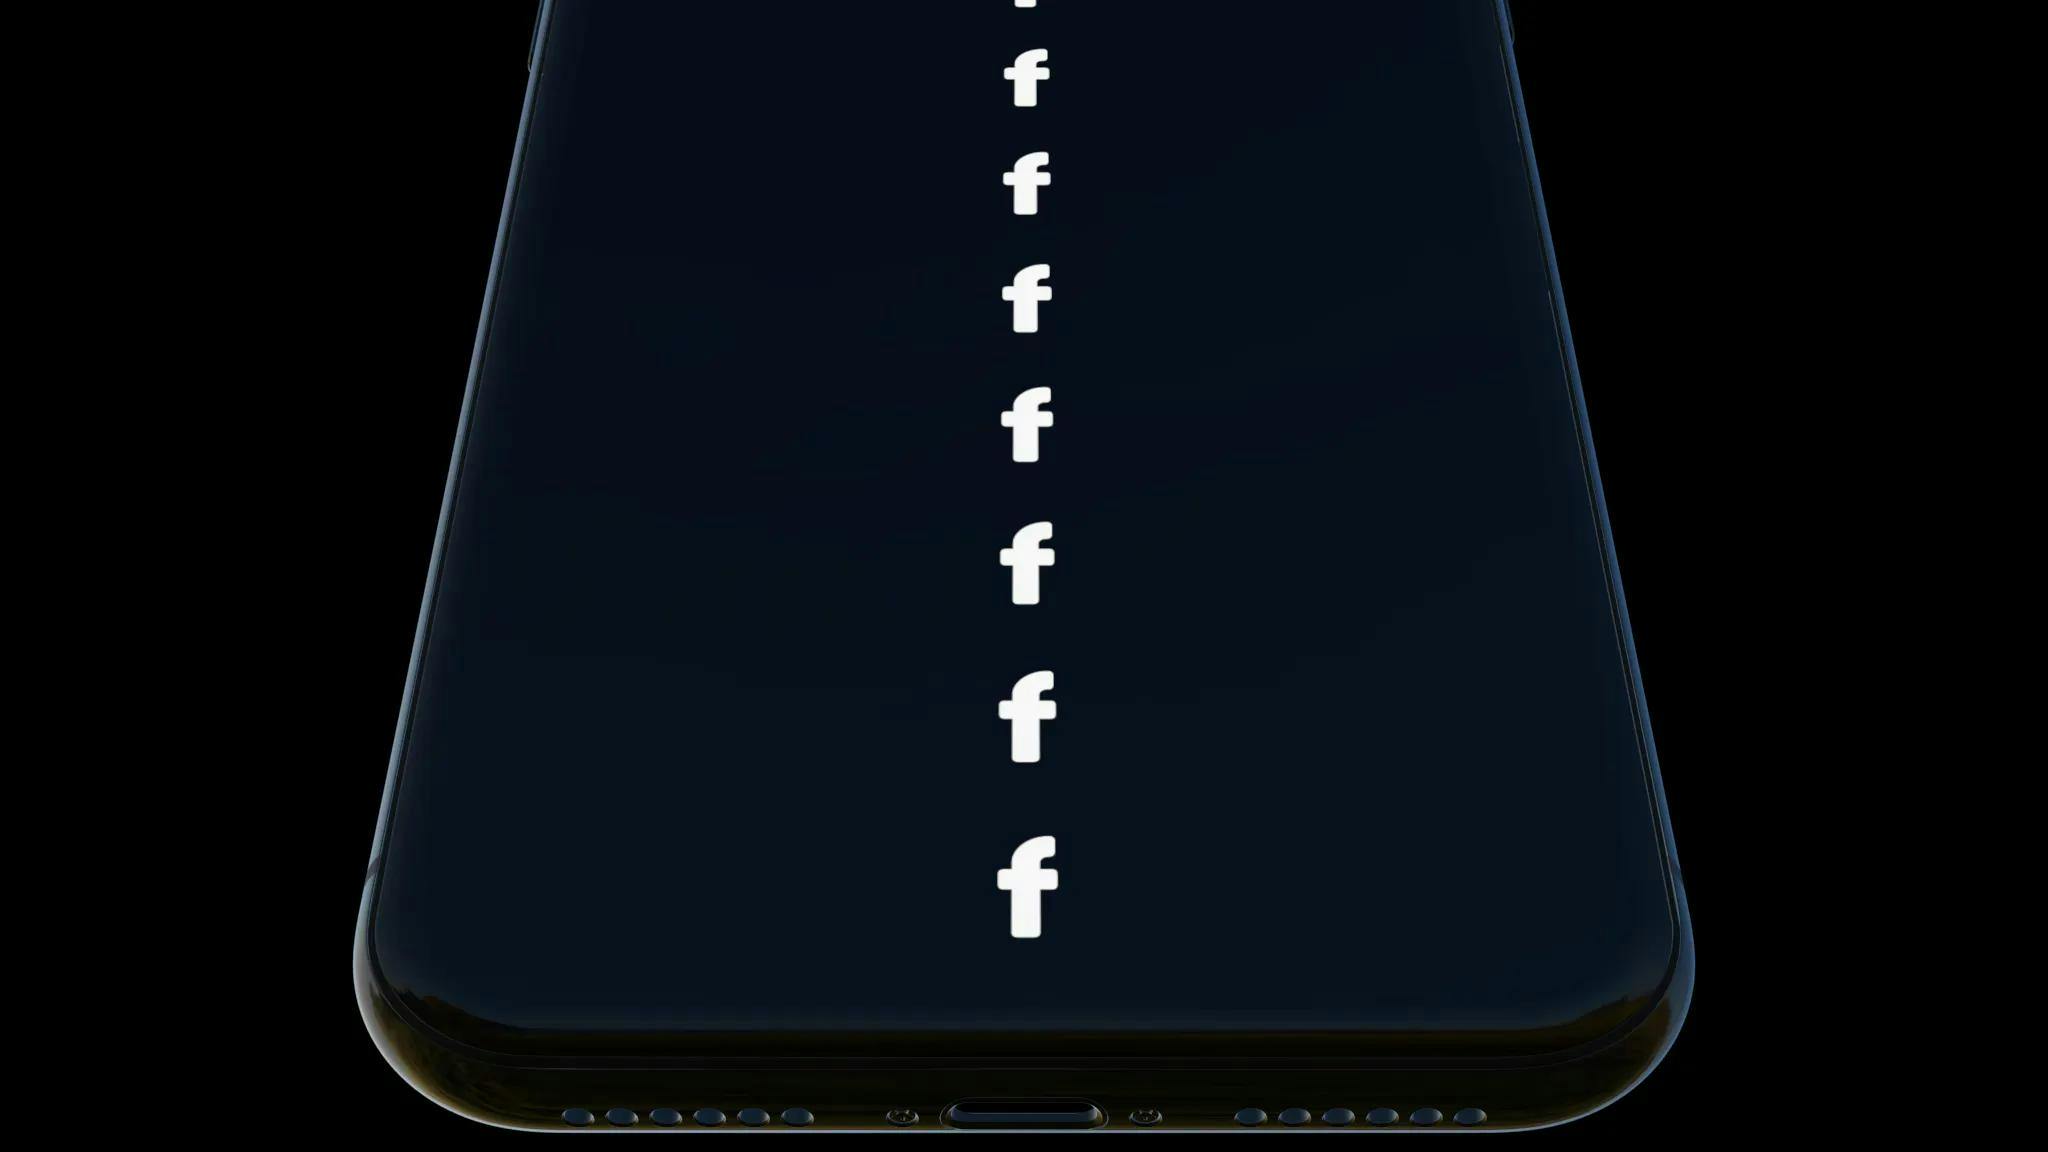
In his depth of blur tutorial, photographer Chris Bray introduces a simple way to remember the whole f-number business: Imagine you're taking a photo of a lot of "f" letters. The bigger your f-number is, the more f's you'll have in focus. The smaller the f-number, the fewer f's you'll see.
I put his technique to the test in Rotato. Take a look:
Depth of field disabled

f-value set to 0.30

f-value set to 0.07
Doesn't that last one look nice?
F-numbers aren't the only thing controlling the blur, but it's the simplest and more than enough in most cases. But just for fun, let's look at the other factors.
- Distance to the subject. With digital mockup photography, you're always very close to the subject, so it's not going to be a problem achieving the blur.
- Focal length. When you zoom in Rotato, you bring the 3D camera closer to the mockup. But when you use the zoom feature on a camera, you're changing its focal length. The longer the length, the more blur you'll see. But go too high, and you'll distort the subject.
- Sensor height. Behind the lens in a real camera, there's a sensor. Twenty years ago, this would be the actual film. This is what photographers talk about when they say, "yeah, look at this 35mm sweet baby" (and they're pointing at a camera, not a tiny human child). More height is more blur.
- Blades. One more term originating from physical cameras. But what this affects is how the blurred area looks. Bright regions will show up as blurred circles called bokeh, and blades determine the bokeh shape. Read more about bokeh in this intro from Nikon.
That's it. You now know the basics of depth of field - just enough to apply it to your 3D projects. So go ahead and blur and get those luxury-stylized shots for your design showcase.
You can check out a quick tutorial on doing this in Rotato right here.